MATERIALS REQUIRED:
Use Size 4 Worsted Weight Yarn (Red Heart Super Saver)
10 yards of Color A = White (Aran)
22 Yards of Color B = Brown (Cafe Latte)
Scraps of Color C = Red (Cherry Red)
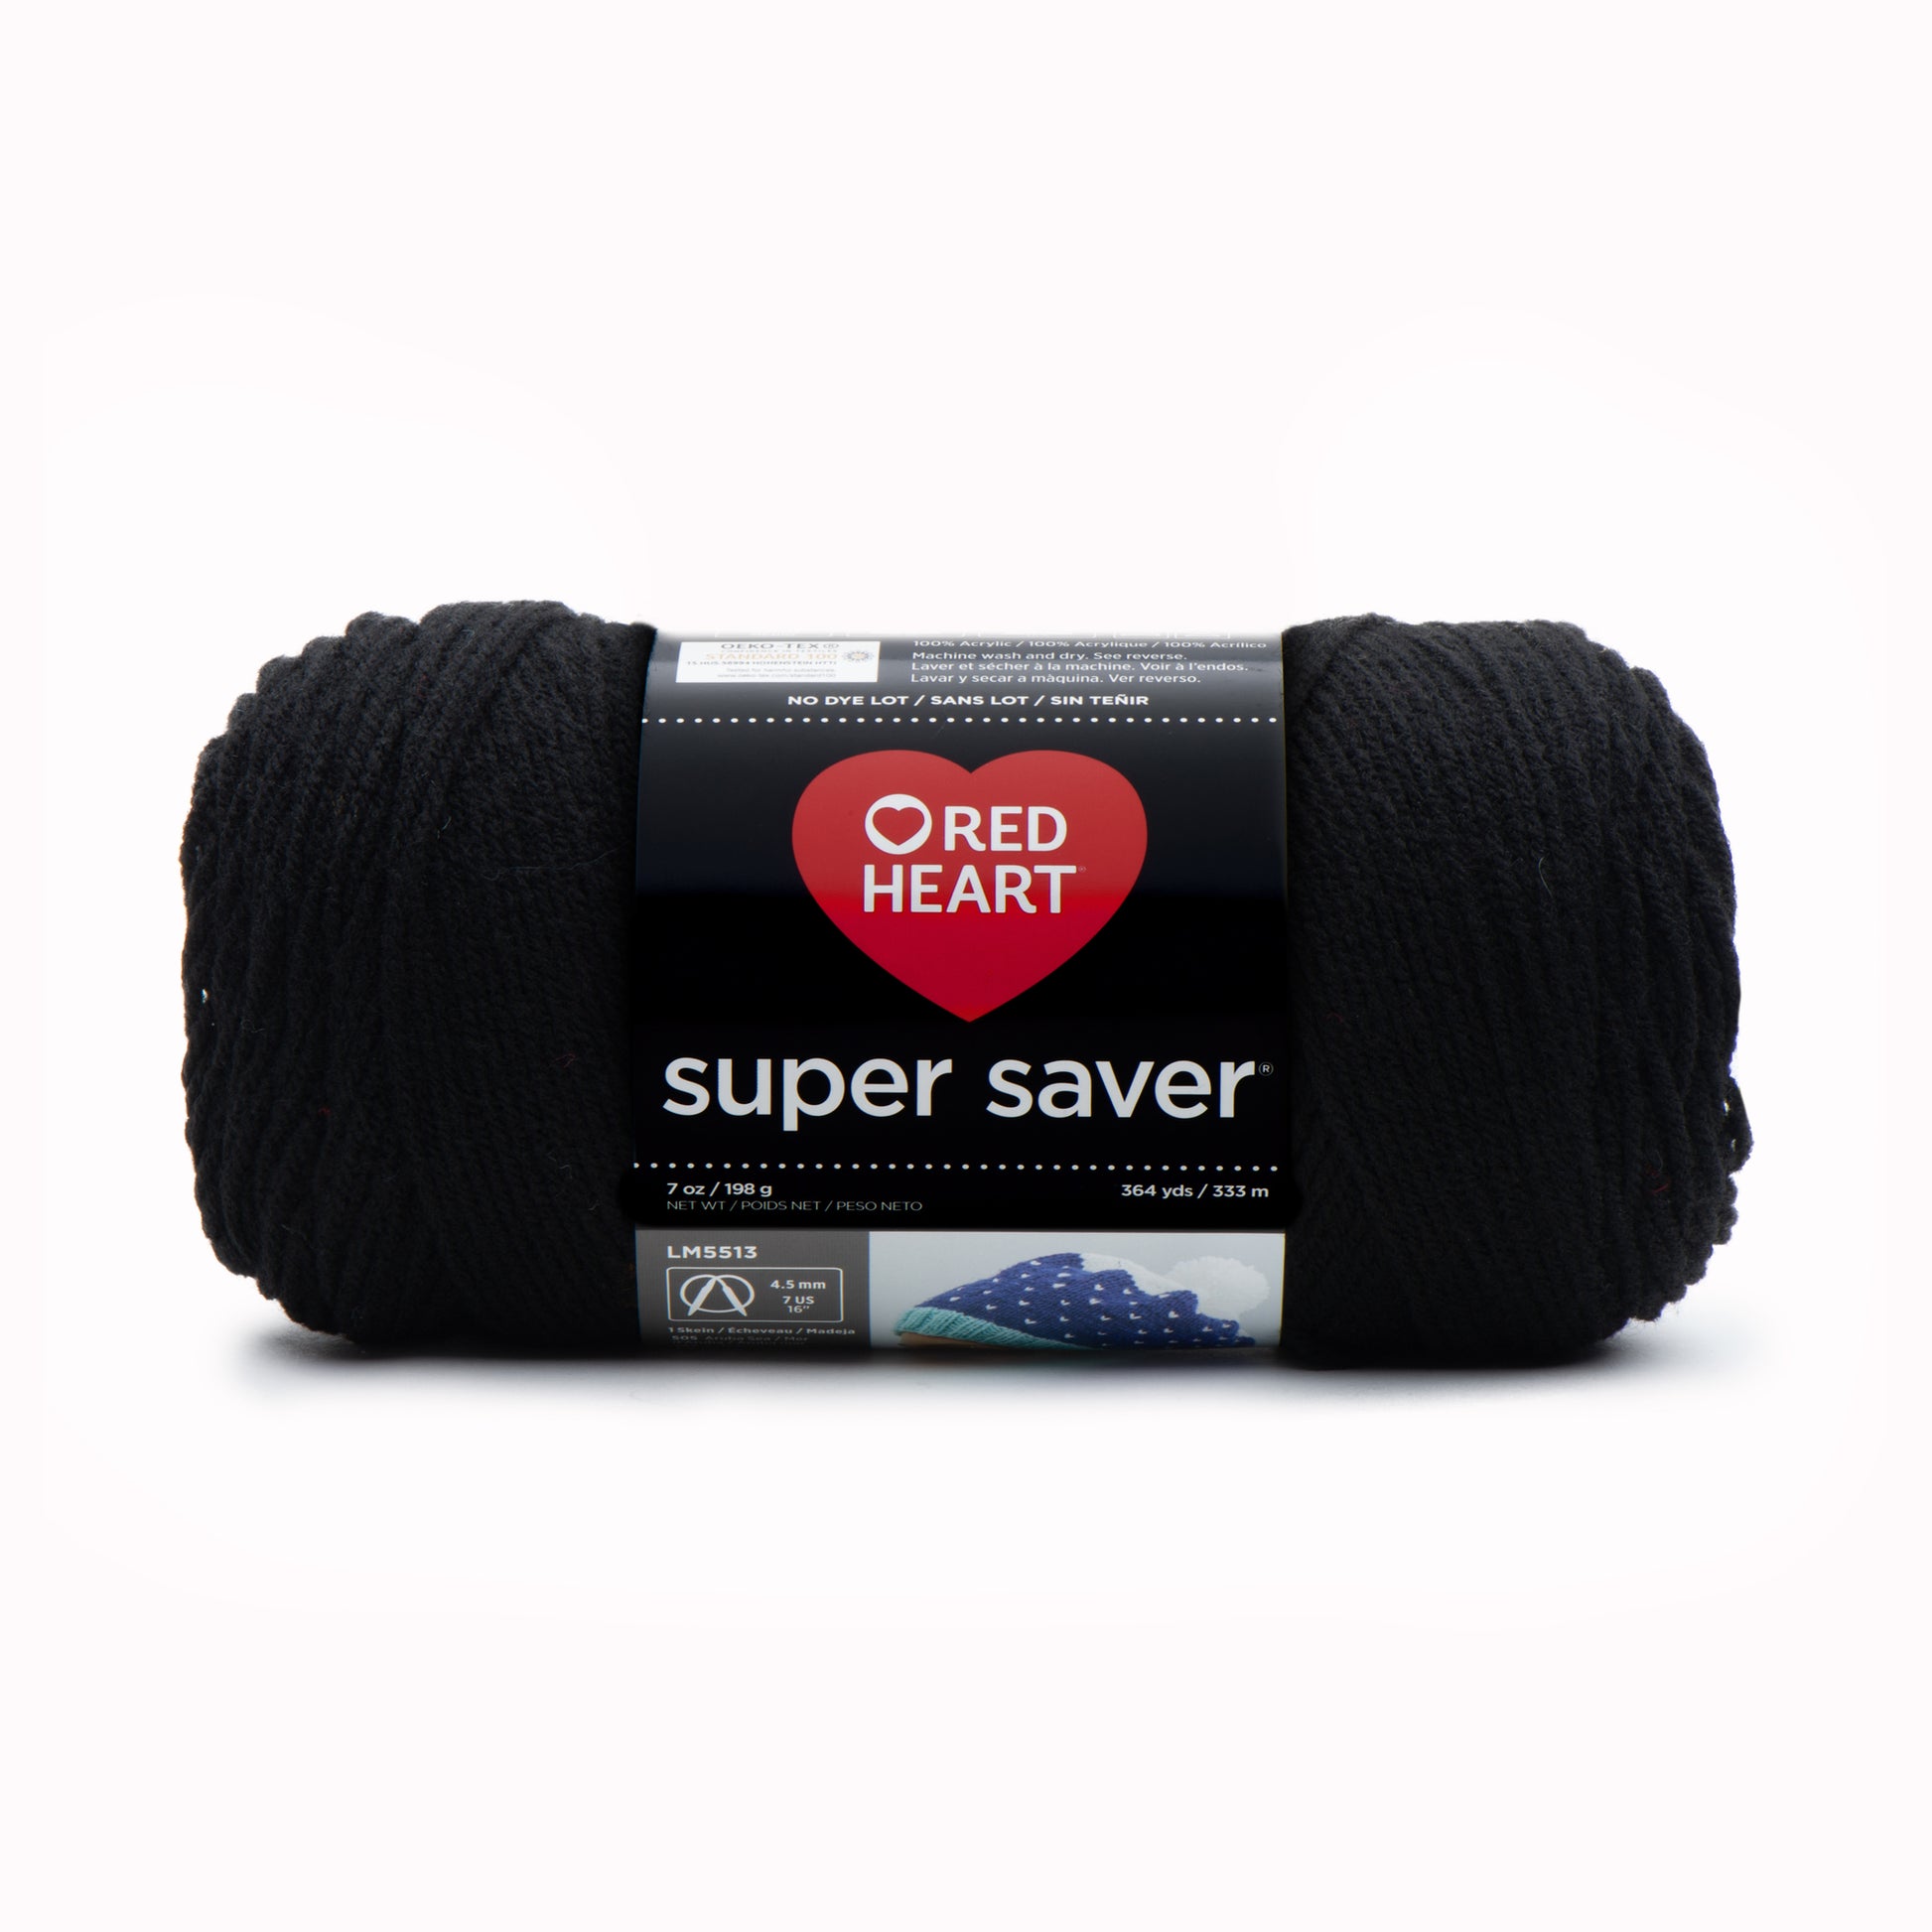
Scraps of Color D = Black (Black) (for optional eyes)
G-6 - 4.0mm Crochet Hook
Size 18 Nylon Crochet Thread for Jointing Arms.
15 mm Safety Eyes (optional)
Black Embroidery Floss for Nostrils
Stuffing
Stuffing Tool
Stitch Marker(s)
Safety Eye Tool (optional)
Yarn/Embroidery Needle(s)
Needle Threader(s)
Scissors
Tapered Awl
Newborn Sock Monkey

Tip: If you're having trouble getting through the first sc, open it with a Tapered Awl.
Eyes (optional):
With Color D, Make 2,
Use Size 4 Worsted Weight Yarn (Red Heart Super Saver)
10 yards of Color A = White (Aran)
22 Yards of Color B = Brown (Cafe Latte)
Scraps of Color C = Red (Cherry Red)
Scraps of Color D = Black (Black) (for optional eyes)
G-6 - 4.0mm Crochet Hook
Size 18 Nylon Crochet Thread for Jointing Arms.
15 mm Safety Eyes (optional)
Black Embroidery Floss for Nostrils
Stuffing
Stuffing Tool
Stitch Marker(s)
Safety Eye Tool (optional)
Yarn/Embroidery Needle(s)
Needle Threader(s)
Scissors
Tapered Awl
Newborn Sock Monkey

Tip: If you're having trouble getting through the first sc, open it with a Tapered Awl.
Eyes (optional):
With Color D, Make 2,
Rnd 1: 6 sc in Magic Ring, join with sl st to first sc, cut and pull yarn through, leave an 18” tail for sewing to the Head. (6)

Muzzle:
Part One
With Color C,
Rnd 1: Ch 10, sc in 2nd ch from hook, and in next 7 ch, 3 sc in next ch, sc in next 7 ch, 2 sc in last ch, join with sl st to first sc, cut and pull yarn through, leave a 2" tail. (20)


Part Two
With Color A,
Rnd 1: Join in last sc of Part One, as for a color change, Ch 1, 2 sc in first sc, place Stitch Marker in first sc of this round, sc in next 9 sc, 3 sc in next sc, sc in next 8 sc, 2 sc in last sc, join with sl st to first sc. (24)
Rnd 2: Ch 1, Sc in each sc, join with sl st to first sc, cut and pull yarn through, leave a 24” tail for sewing to the Head. (24)

Leg One:
With Color A,
Rnd 1: 4 sc in Magic Ring. (4)
Rnd 2: 2 sc in each sc. (8)
Rnd 3: Sc in next sc, 2 sc in next sc, around. (12)
Rnd 4: Sc in each sc. (12)
Rnd 5-8: Change to Color B, sc in each sc. Start stuffing the Leg after completing Rnd 8. (12)
Rnd 9: Sc in next 2 sc only (2)
Rnd 10: ch 1, turn, sc in next sc only, cut and pull yarn through, leave an 8” tail for sewing to Leg Two. (1)
Leg Two:
Work the same as Leg One through Rnd 9, place the stitch marker in the last stitch of Rnd 9 of Leg Two, do not cut and pull yarn through, sew Leg One to Leg Two, in the sc after the stitch marker, only sewing in one stitch in each piece, you will continue to work in Rnds to make the Body.

Body:

Body:
Rnd 1: Sc in next sc, dec in the following two stitches, the first stitch is Rnd 9 on Leg One (the extra stitch), if you crochet here you will end up with an extra sc, the second stitch is the next sc, sc in the next 10 sc, sc in next sc (Rnd 10 of Leg One), sc in next 11 sc. (24)
Rnd 2-3: sc in each sc (24)
Rnd 4: Sc in next 4 sc, dec, around. (20)
Rnd 5: Sc in next 3 sc, dec, around. (16)
Rnd 6: Sc in next 2 sc, dec, around. (12)
Head:
Rnd 7: Sc in next sc, 2 sc in next sc, around. (18)
Rnd 8: Sc in next 2 sc, 2 sc in next sc, around. (24)
Rnd 9: Sc in next 3 sc, 2 sc in next sc, around. (30)
Rnd 10-14: Sc in each sc. Stuff the Body to Rnd 6 after completing Rnd 11. (30)
Rnd 15: Sc in next 26 sc only, place the stitch marker in last sc. (26)
Rnd 16: Change to Color A, sc in each sc. (30)
Rnd 17: Sc in next 3 sc, dec around. (24) Start stuffing the Head.
Tip: If you’re having trouble getting the Safety Eyes through, use a tapered awl to open the hole.
Sew the Muzzle to the Head. Sew across the bottom of the Muzzle, from right to left, stop at left side, remove the stuffing from Head, place Safety Eyes, lock them in place, replace the stuffing.

The above picture shows the placement of the Safety Eyes, I like to space the eyes with three holes in between them, or 5 Sc apart. Continue sewing the Muzzle to the Head, stuff the Muzzle before closing the hole.

Embroider 2 Nostrils with Black Embroidery Floss or Color D, with Straight Stich or French Knots.
Rnd 18: Sc in next 2 sc, dec, around. (18)
Rnd 19: Sc in next sc, dec, around. (12)
Rnd 20: Dec around, remove stitch marker, dec twice, cut and pull yarn through, weave in end. (4)
Ears:
Rnd 2-3: sc in each sc (24)
Rnd 4: Sc in next 4 sc, dec, around. (20)
Rnd 5: Sc in next 3 sc, dec, around. (16)
Rnd 6: Sc in next 2 sc, dec, around. (12)
Head:
Rnd 7: Sc in next sc, 2 sc in next sc, around. (18)
Rnd 8: Sc in next 2 sc, 2 sc in next sc, around. (24)
Rnd 9: Sc in next 3 sc, 2 sc in next sc, around. (30)
Rnd 10-14: Sc in each sc. Stuff the Body to Rnd 6 after completing Rnd 11. (30)
Rnd 15: Sc in next 26 sc only, place the stitch marker in last sc. (26)
Rnd 16: Change to Color A, sc in each sc. (30)
Rnd 17: Sc in next 3 sc, dec around. (24) Start stuffing the Head.
Tip: If you’re having trouble getting the Safety Eyes through, use a tapered awl to open the hole.
Sew the Muzzle to the Head. Sew across the bottom of the Muzzle, from right to left, stop at left side, remove the stuffing from Head, place Safety Eyes, lock them in place, replace the stuffing.

The above picture shows the placement of the Safety Eyes, I like to space the eyes with three holes in between them, or 5 Sc apart. Continue sewing the Muzzle to the Head, stuff the Muzzle before closing the hole.
Embroider 2 Nostrils with Black Embroidery Floss or Color D, with Straight Stich or French Knots.
Rnd 18: Sc in next 2 sc, dec, around. (18)
Rnd 19: Sc in next sc, dec, around. (12)
Rnd 20: Dec around, remove stitch marker, dec twice, cut and pull yarn through, weave in end. (4)
Ears:
With Color B,
Rnd 1: 4 sc in Magic Ring. (4)Rnd 2: 2 sc in next 3 sc, ch 1, turn. (6)
Rnd 3: 2 sc in next 6 sc. Cut and pull yarn through, leave an 18” tail for sewing to the Head. Sew One Ear to either side of Head. (12)

Arms:
With Color A,
Rnd 1: 5 sc in Magic Ring. (5)
Rnd 2-4: sc in each sc. (5)
Rnd 5-7: Change to Color B, sc in each sc. Start stuffing the Arms after completing Rnd 4. (5)
Rnd 8: Dec twice, cut and pull yarn through, weave in end. (3)


Joint the Arms to the Body. To joint, take a 9" piece of size 18 Nylon Crochet Thread and run it from right to left, through the center of Rnd 6 the Body, then through Rnd 8 of the first Arm, then back through the center of Rnd 6 of the Body, then back through Rnd 8 of the other Arm, then tighten, tie the strands together three times, the three knots are so you can melt the ends of the Nylon Crochet Thread to prevent fraying, hide the knots in the Body. I use a 3mm Steel Blocking Board Pin to push the knots in the Body.
Tail:
With Color A,
Rnd 1: 4 sc in Magic Ring. (4)
Rnd 2-4: Sc in each sc (4)
Rnd 5-17: Change to Color B, sc in each sc, on last Rnd fasten off with sl st to first sc, cut and pull yarn through, leave a 12" tail for sewing to the back of the Body directly above where the Legs meet. (4)

Finishing: That's it, you're all done, enjoy the Newborn Sock Monkey.

No comments:
Post a Comment